Anime is a style of animation that originated in Japan and has gained global popularity over the years. Known for its unique and distinctive art style, anime has captured the hearts of millions of fans all around the world. One of the most appealing aspects of anime is the characters and their designs. From the spiky hair to the big eyes, anime characters have a way of standing out and leaving a lasting impression.
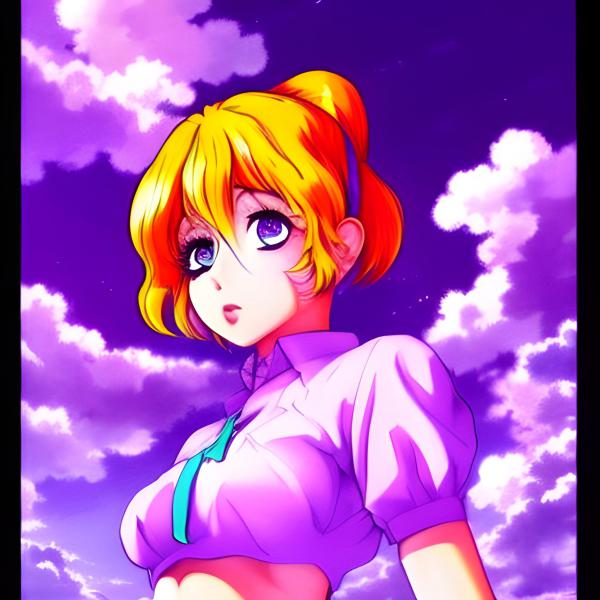
If you’re a fan of anime and have ever wondered how to draw your favorite characters, you’re in luck. Drawing anime can be a fun and rewarding experience, but it can also be challenging if you don’t know where to start. Luckily, with some practice and guidance, anyone can learn how to draw anime. In this guide, we’ll go over some tips and techniques to help you get started on your anime drawing journey. Whether you’re a beginner or an experienced artist, there’s something for everyone. So grab a pencil and paper, and let’s get started on our anime drawing adventure!
Understanding the Basics of Anime-style Drawing
To understand the basics of anime-style drawing, here are some key elements you can focus on:
- Proportions: Anime characters typically have exaggerated proportions, such as large eyes and heads in relation to their bodies.
- Facial Features: Eyes are a crucial element of anime-style drawings, often taking up a large portion of the face. Noses and mouths are usually less detailed.
- Hairstyles: Hair in anime is often stylized with unique shapes and colors that add to the character’s overall appearance.
- Clothing: Anime characters frequently wear clothing that is brightly colored and visually interesting, with unique patterns and designs.
- Emotions: Anime-style drawings often use exaggerated facial expressions and body language to convey strong emotions.
By focusing on these elements, you can begin to develop your own anime-style drawings.
Sketching the Face and Features of an Anime Character
Sketching the face and features of an anime character requires attention to detail and a good understanding of the style. Here are some tips to help you get started:
If you have ever wondered how to draw your favorite characters
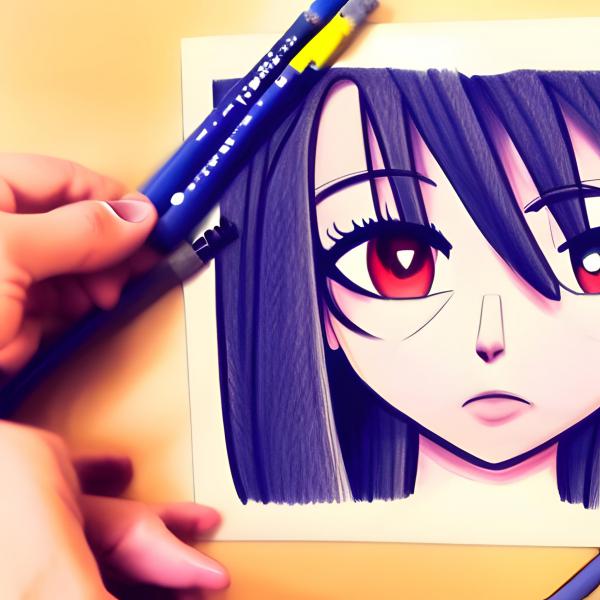
- Start with basic shapes: Use simple shapes like circles and ovals to form the head and facial features. This will help you get the proportions right.
- Focus on the eyes: Eyes are a key component of anime characters. Make sure they are large and expressive, with plenty of detail in the iris and pupil.
- Create a unique hairstyle: Anime characters often have unusual and elaborate hairstyles. Take some time to experiment with different styles until you find one that suits your character.
- Pay attention to the mouth: Mouths in anime are typically small and simple, but they can also be quite expressive. Make sure to give your character a mouth that matches their personality.
- Add finishing touches: Once you have the basic features sketched out, add details like shading, highlights, and texture to bring your character to life.
Remember, practice makes perfect! Keep sketching and experimenting until you find a style that works for you.
Adding Depth and Emotion to Your Anime Drawings
When it comes to creating anime drawings that truly captivate your audience, it’s important to focus not only on the technical aspects of your art but also on the emotional impact that it has. One way to do this is to add depth to your characters by giving them unique personalities, backstories, and motivations. This can be achieved through careful consideration of their physical features, expressions, and body language, as well as through the dialogue and actions that you portray them with.
Adding Depth and Emotion to Your Anime Drawings
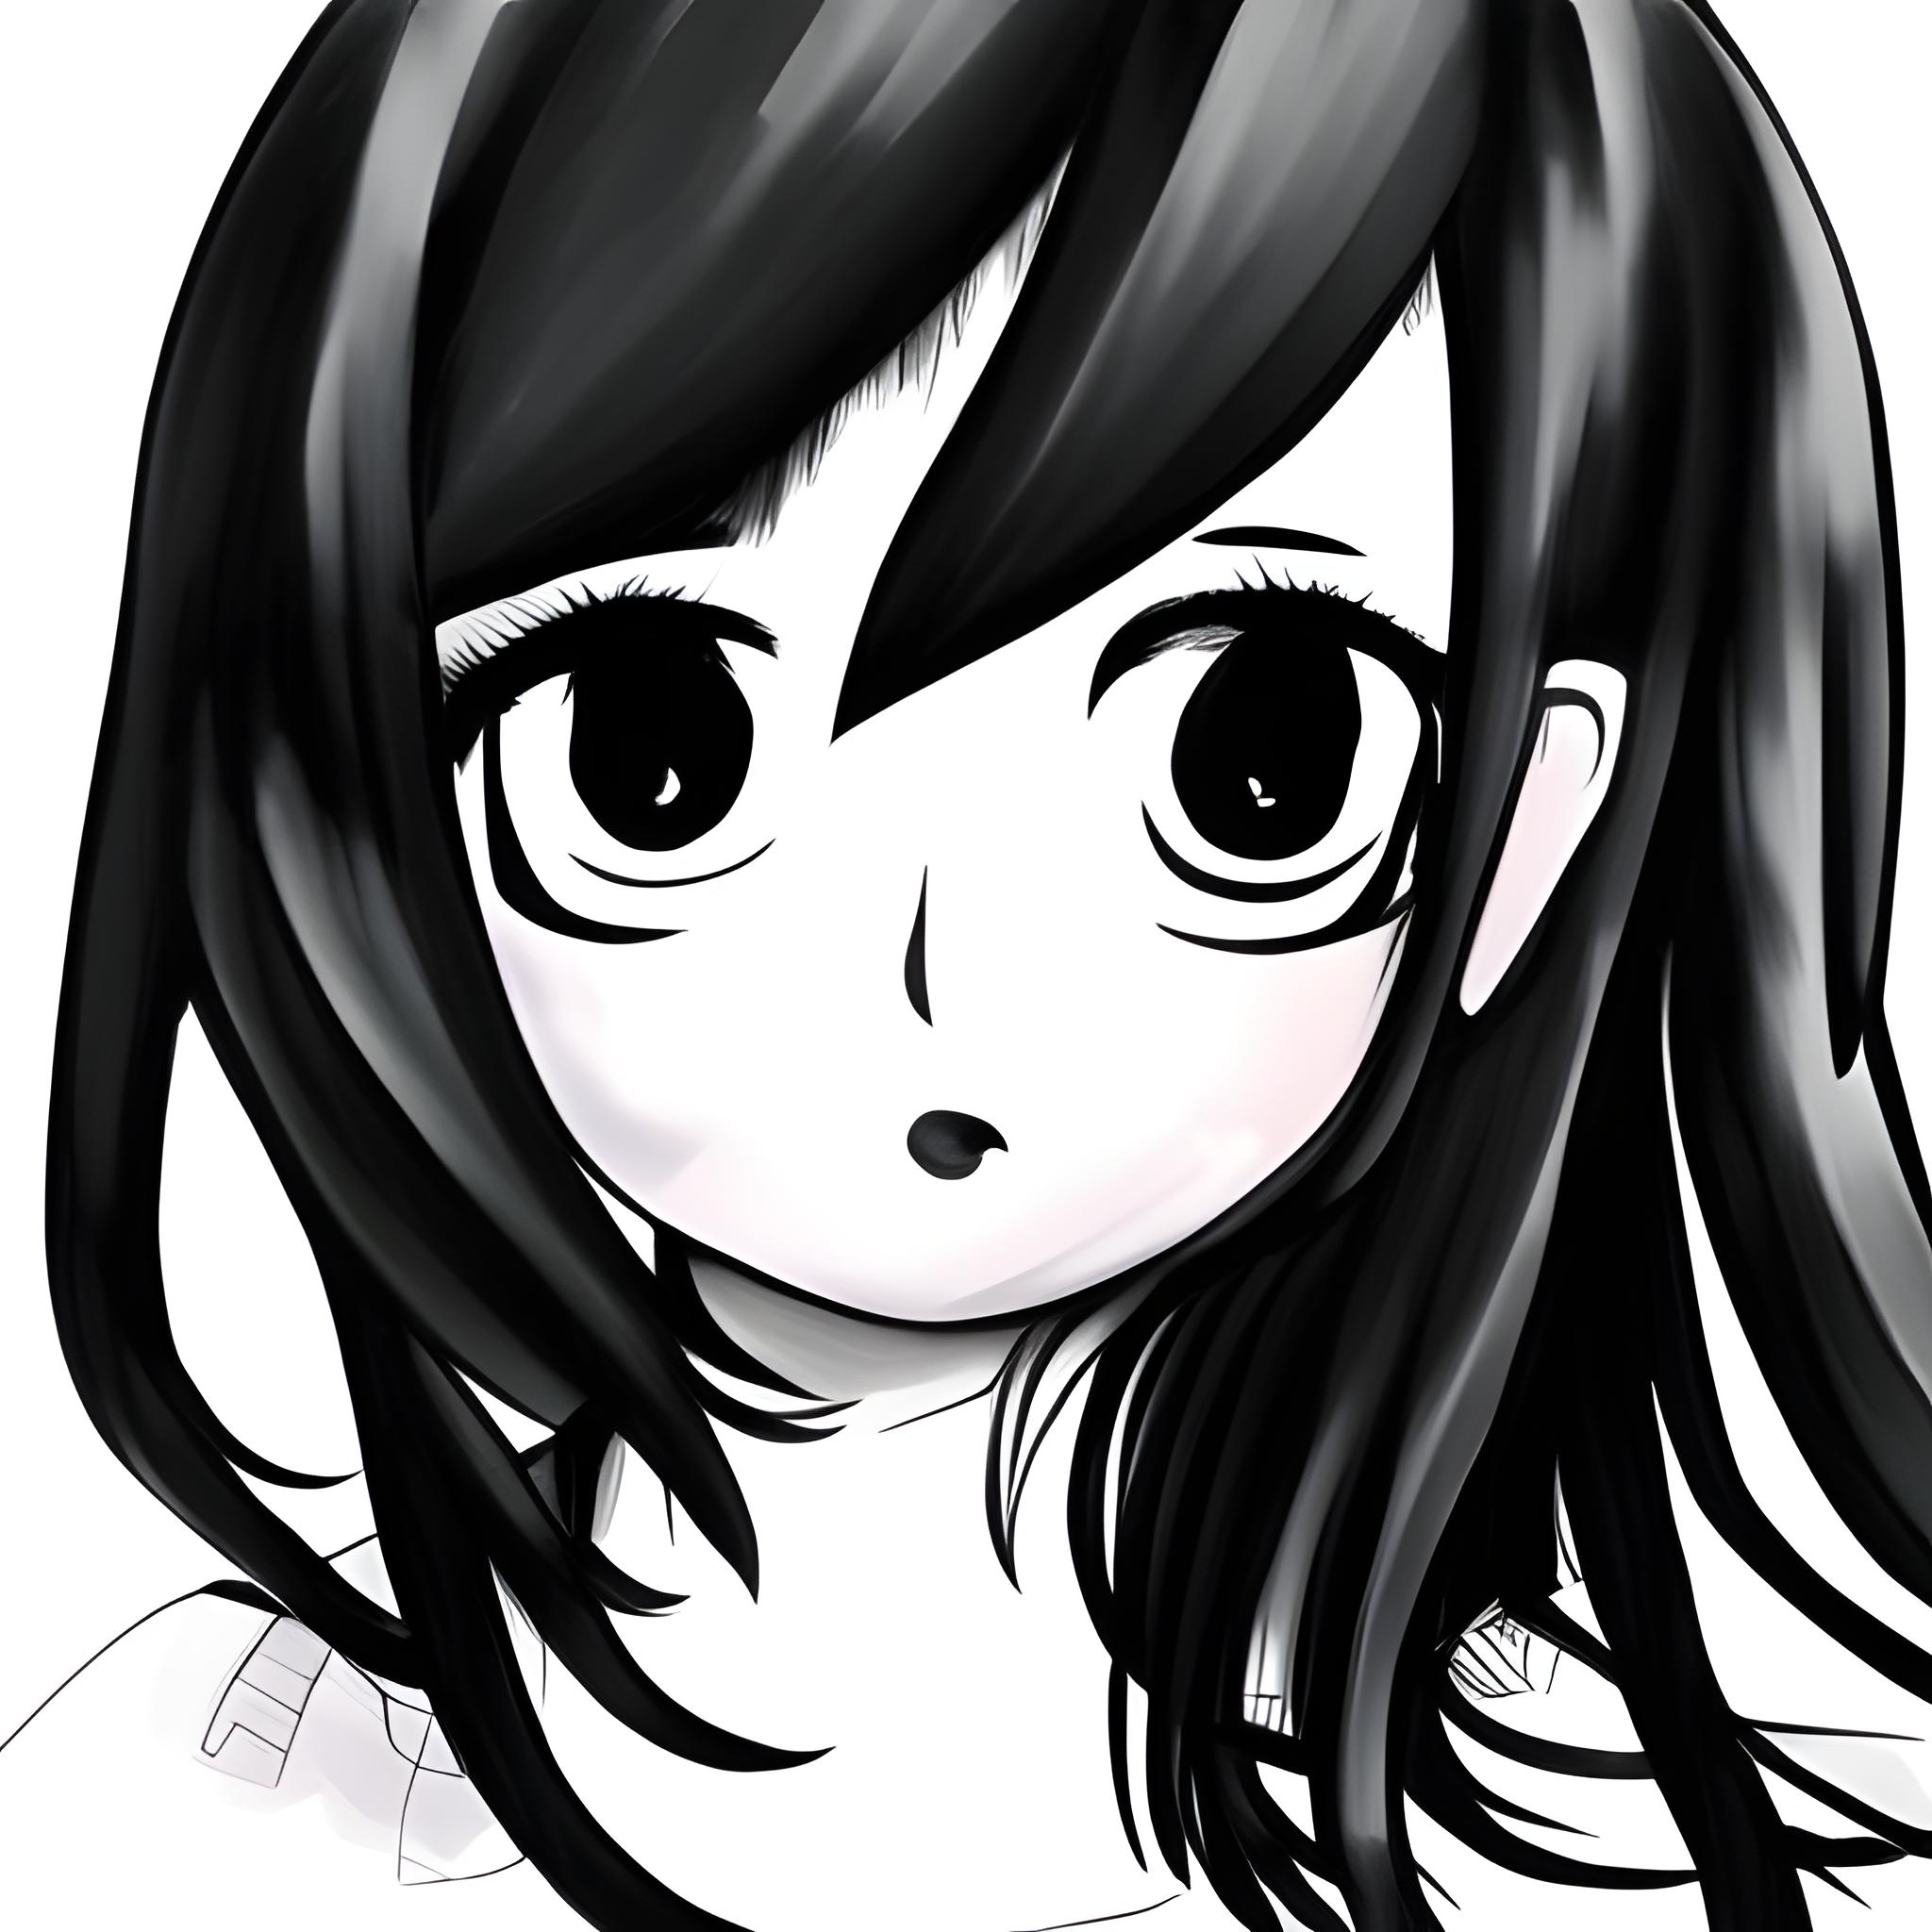
Another key aspect of adding emotion to your anime drawings is to pay attention to the overall composition and mood of your art. This can be done by experimenting with different colors, lighting, and shading techniques to create a sense of atmosphere that complements the story that you are trying to tell. By combining these elements with your technical skills as an artist, you can create anime drawings that not only look stunning but also resonate deeply with your audience on an emotional level.
Creating Dynamic Poses and Action Scenes in Anime
Creating dynamic poses and action scenes in anime requires a good understanding of anatomy, composition, and movement. Here are some tips to help you get started:
- Study anatomy: Understanding the human body and how it moves is essential for creating dynamic poses and action scenes. Study anatomy books and observe people in motion to get a better sense of how the body works.
- Play with composition: Use diagonal lines, foreshortening, and other techniques to create a sense of movement and depth in your artwork.
- Practice gesture drawing: Gesture drawing is a quick and loose drawing technique that captures the movement and energy of a pose. Practice gesture drawing to help you create more dynamic poses.
Two popular examples of dynamic poses and action scenes in anime are:
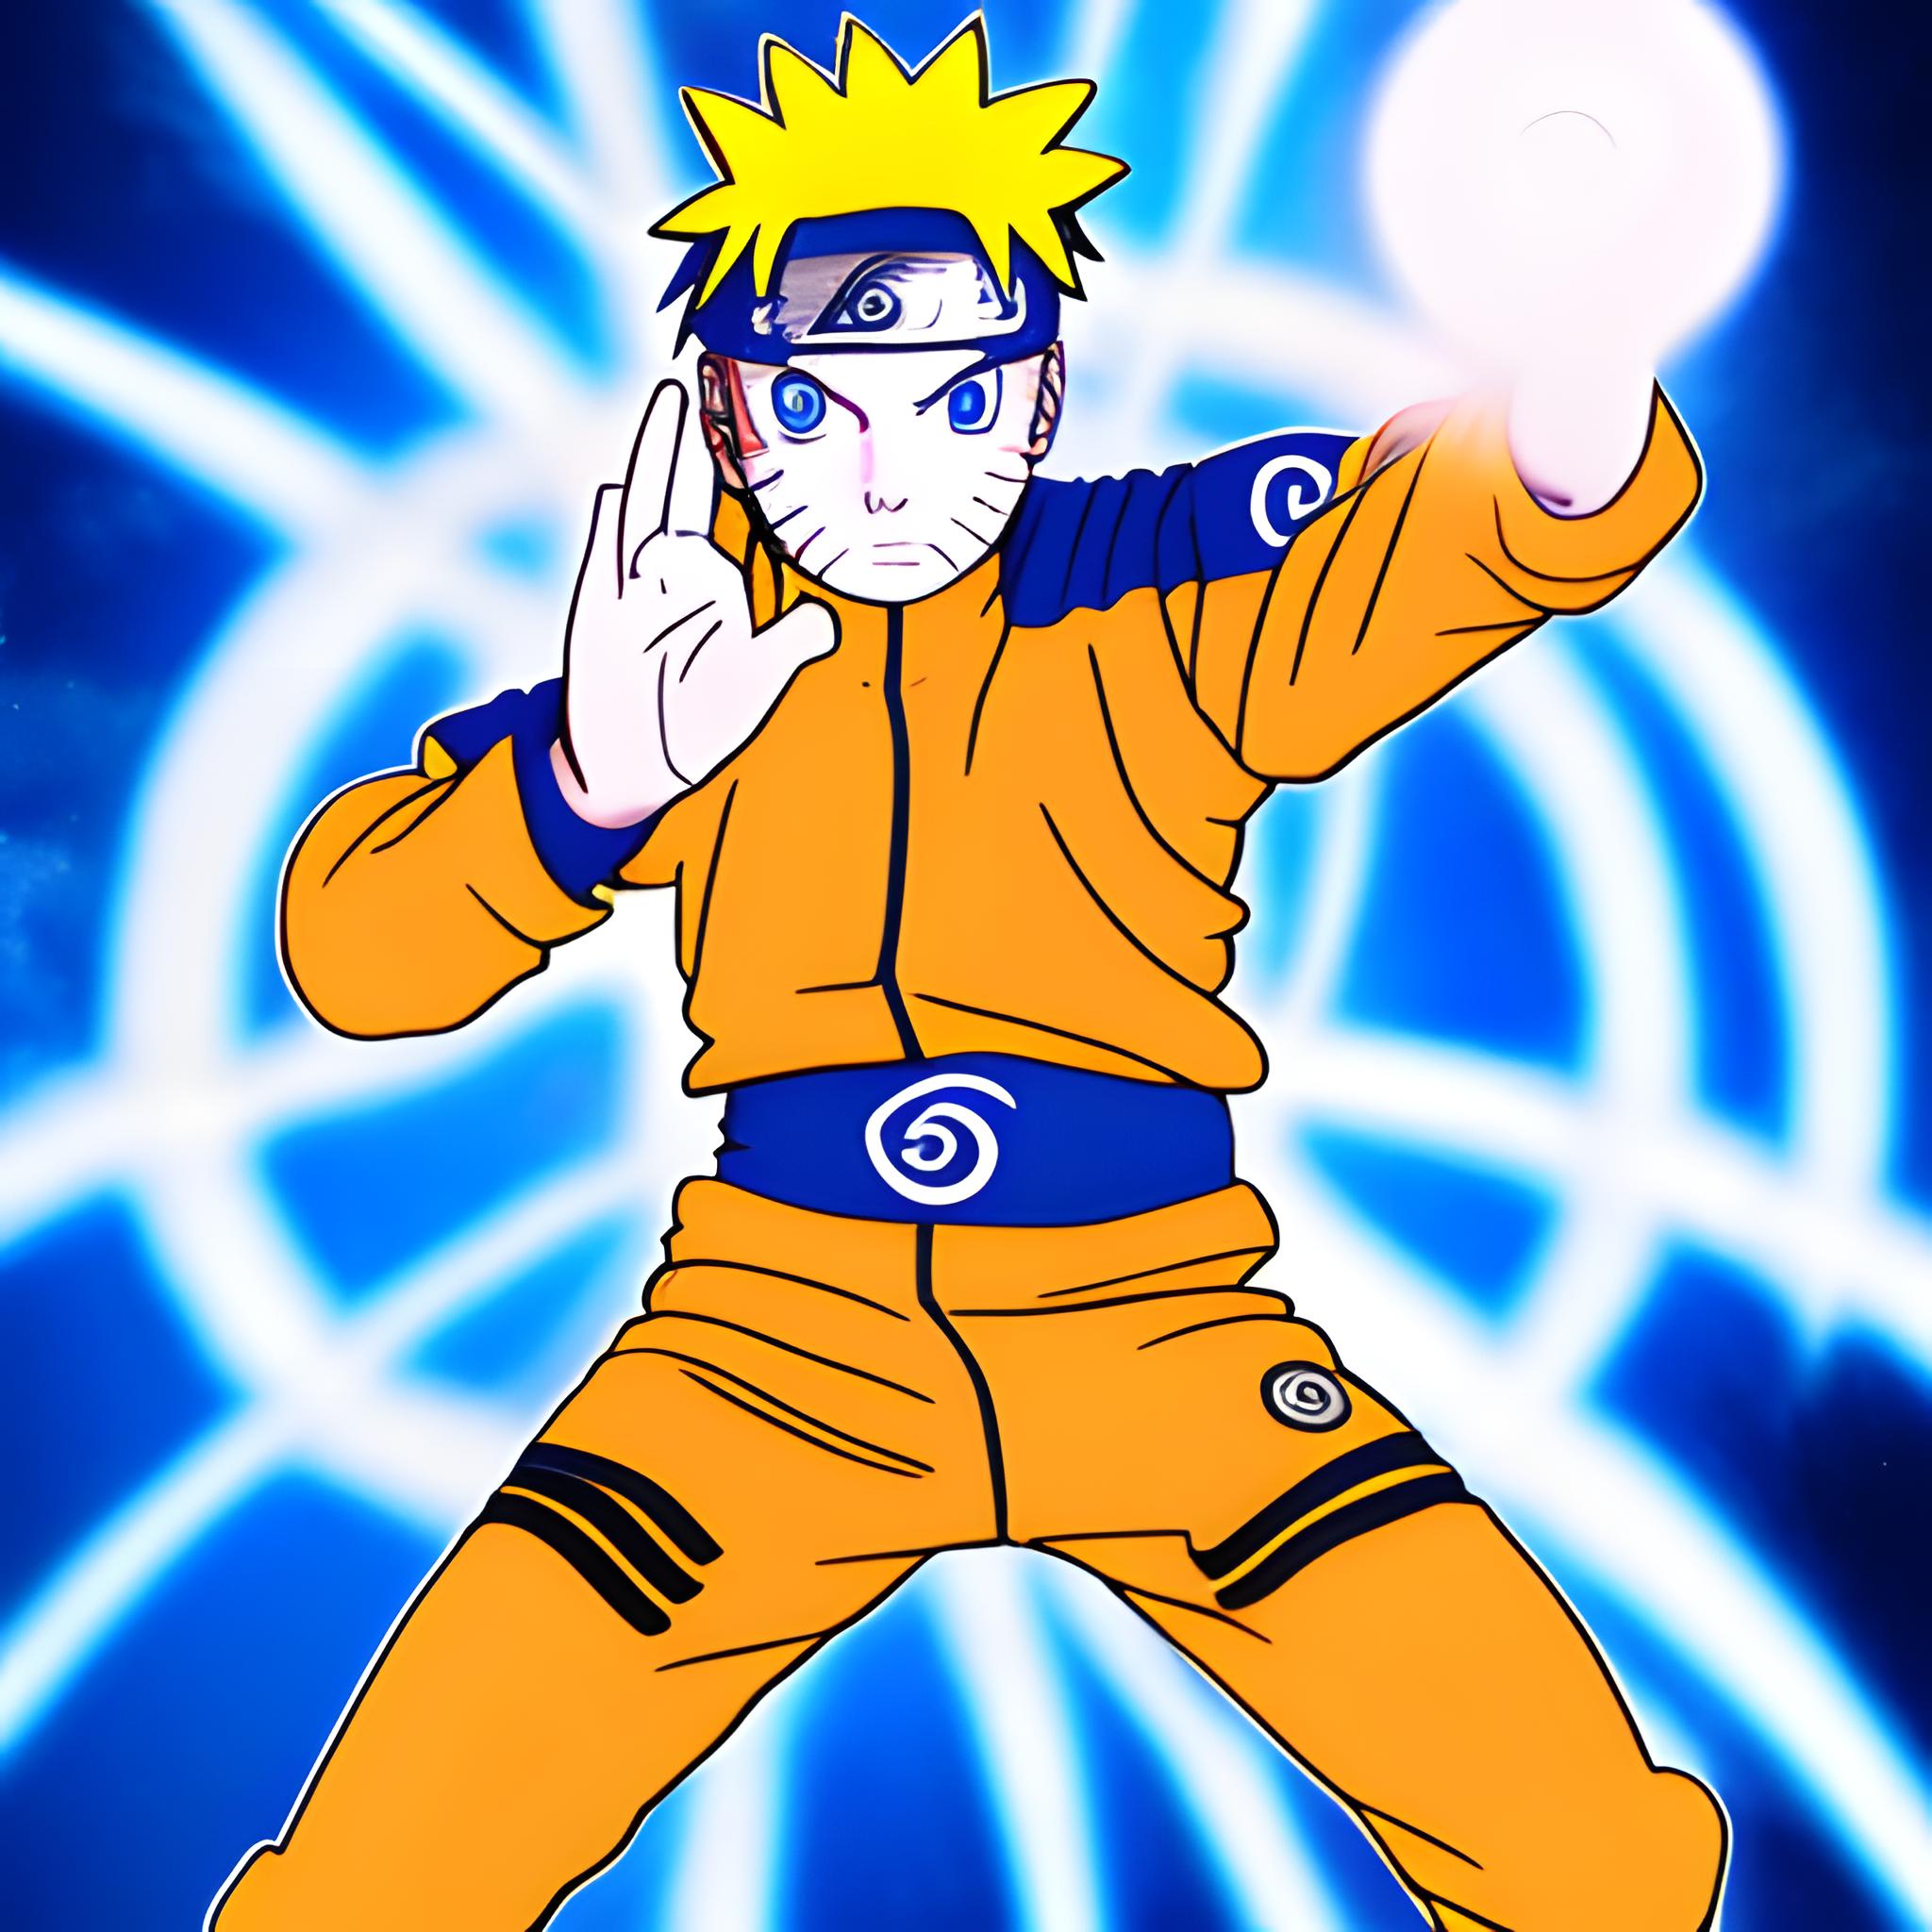
- Naruto’s Rasengan: The Rasengan is a powerful jutsu used by Naruto in the Naruto anime series. To draw it, start with a dynamic pose of Naruto charging up his energy, with his arms and hands moving in a circular motion. Then, draw the energy ball forming in the center of his palms, with crackling sparks of energy radiating outwards.
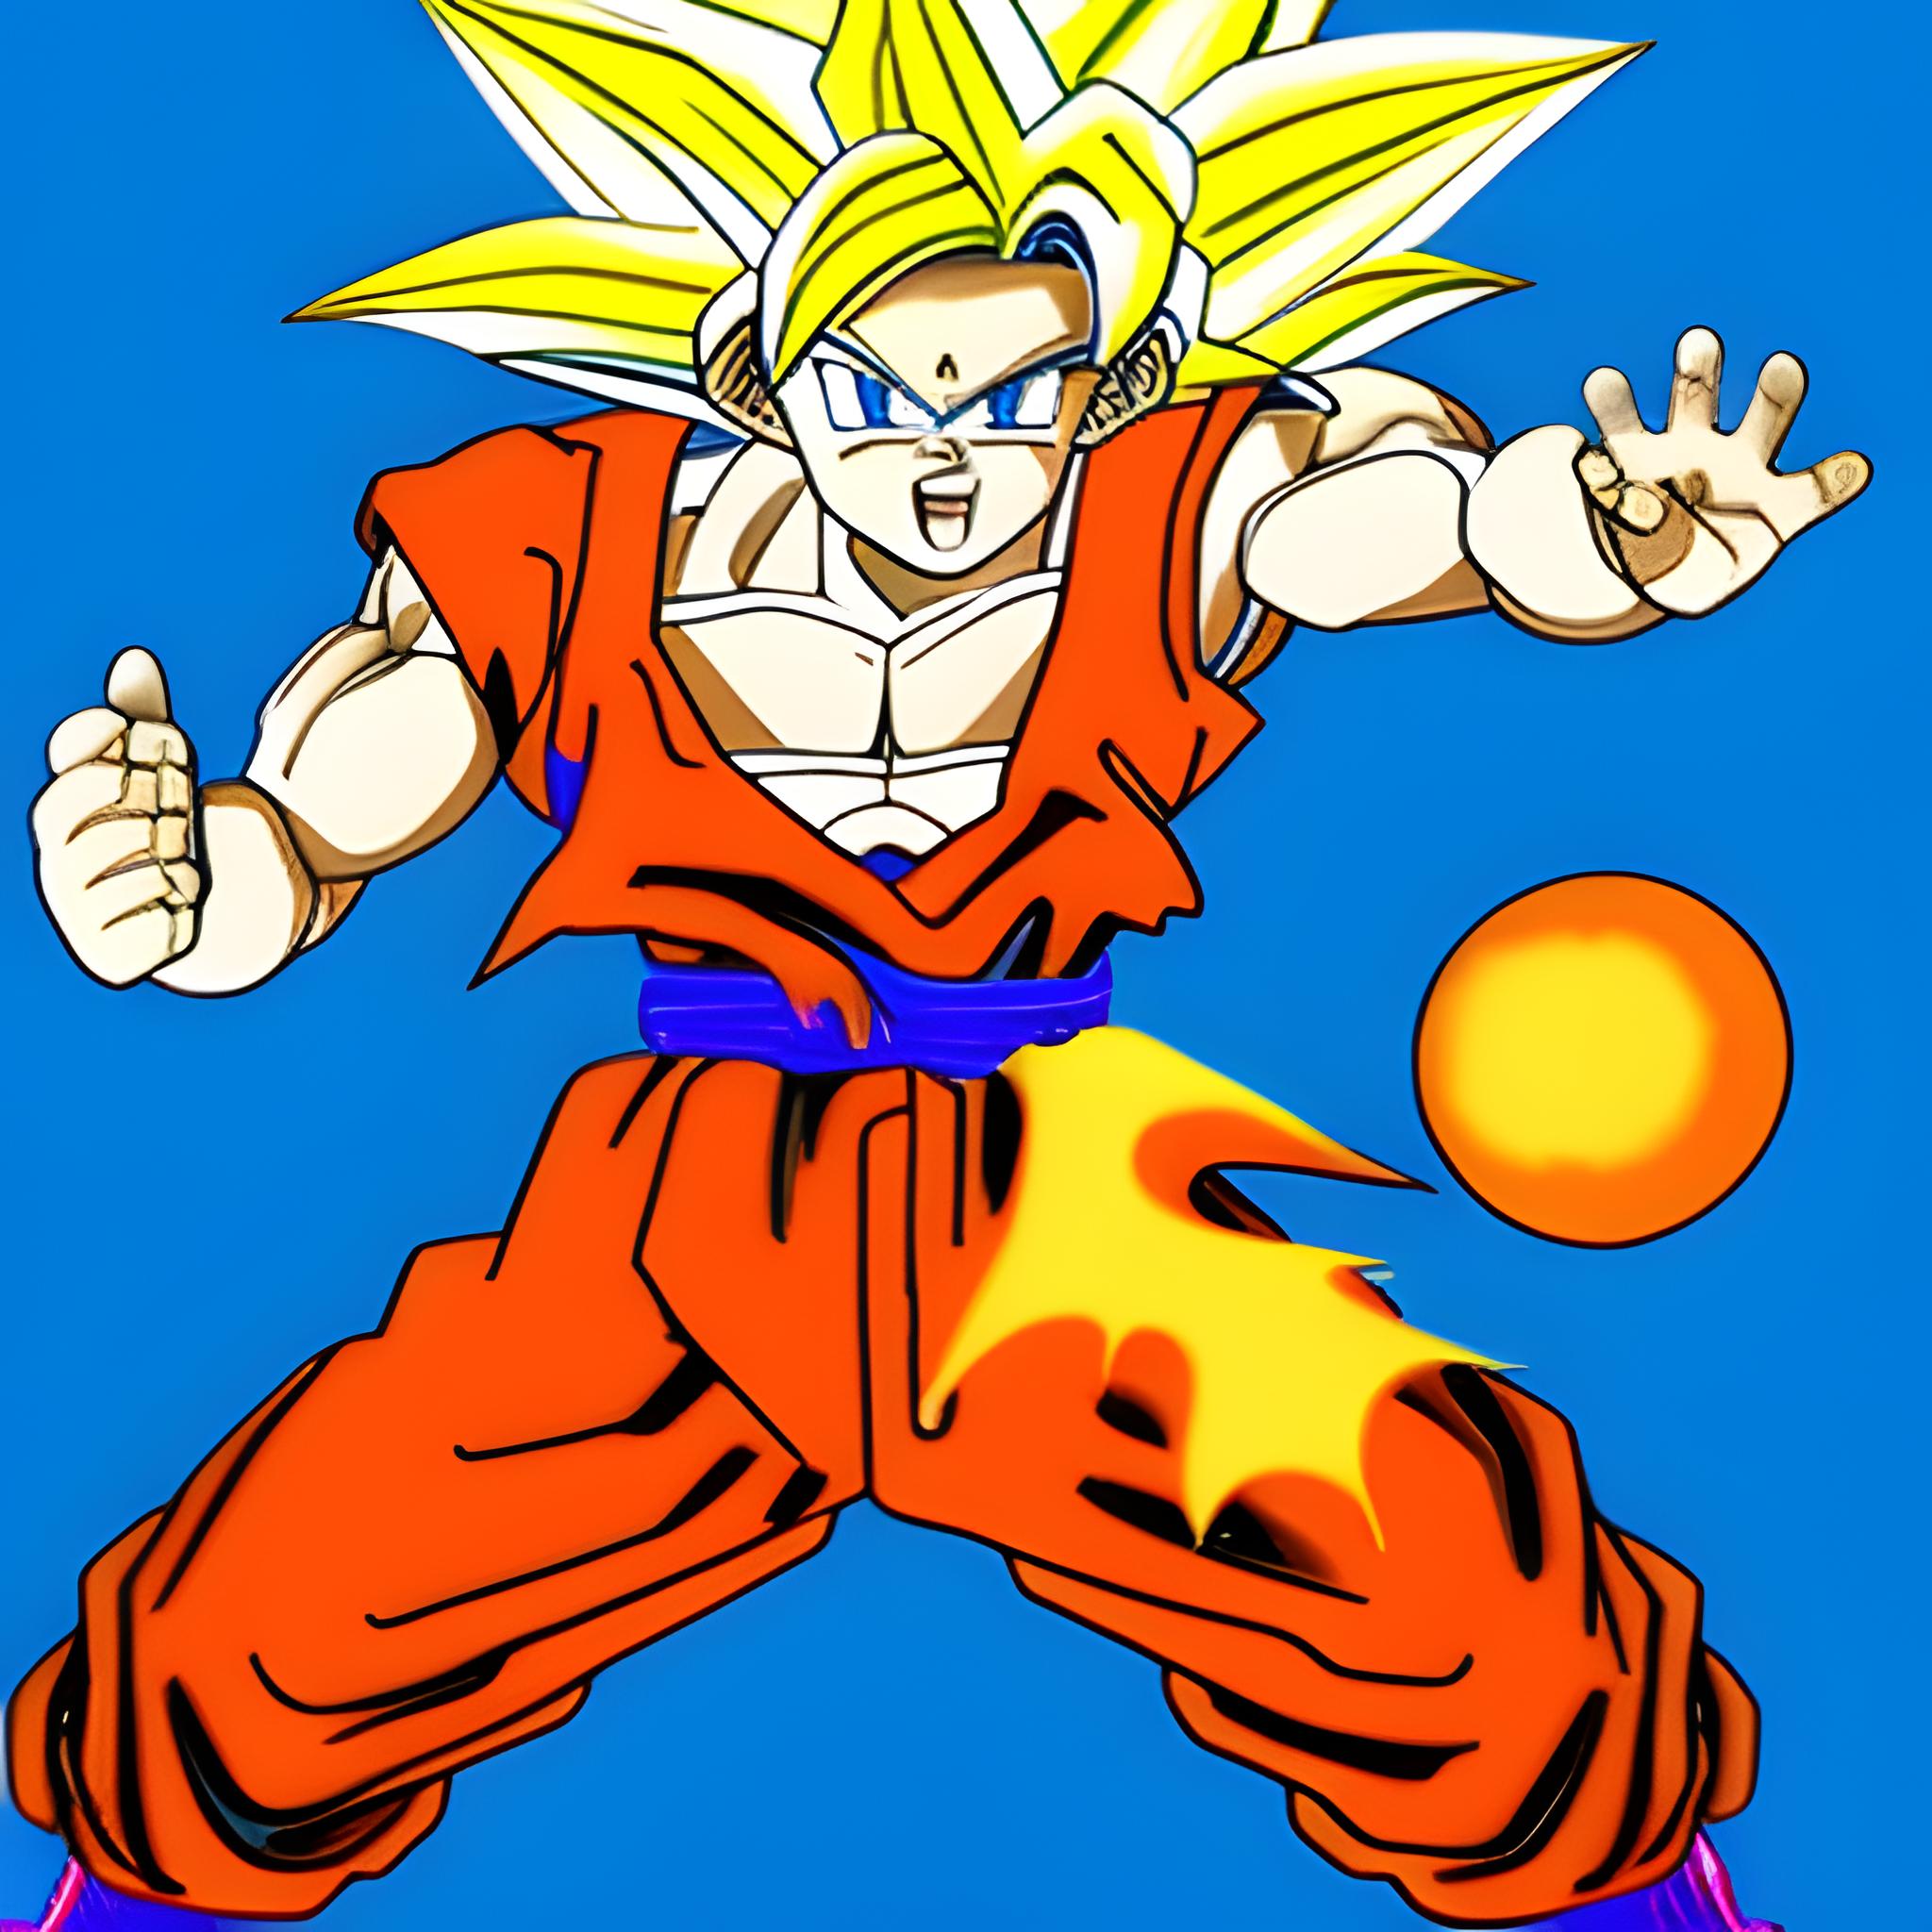
- Goku’s Kamehameha: The Kamehameha is a signature move used by Goku in the Dragon Ball anime series. To draw it, start with a dynamic pose of Goku charging up his energy, with his legs bent and his arms pulled back. Then, draw the energy ball forming in front of his hands, with waves of energy emanating from it. Finally, draw Goku unleashing the Kamehameha, with his body tensed and his arms extended forward.
Narutos Rasengan The Rasengan is a powerful jutsu
Gokus Kamehameha The Kamehameha is a signature move
Coloring and Shading Techniques for Anime-style Artwork
Coloring and shading are essential techniques when it comes to creating anime-style artwork. Here are some techniques and tips on how to use them effectively:
- Flat Coloring – This technique involves filling in each section of your drawing with a solid color. It’s perfect for creating simple, clean designs.
- Gradient Coloring – This technique involves blending two or more colors together to create a smooth transition. It’s great for creating a sense of depth and dimension in your artwork.
- Cell Shading – This technique involves adding bold, contrasting shadows to your artwork. It’s perfect for creating a dramatic effect and emphasizing the contours of your characters.
- Soft Shading – This technique involves adding subtle shadows and highlights to your artwork. It’s great for creating a more realistic, three-dimensional effect.
- Lighting – This technique involves adding light sources to your artwork to create a sense of ambiance and mood. It’s perfect for setting a scene and adding depth to your artwork.
When using these techniques, it’s important to consider the lighting and mood of your artwork. Experiment with different colors and shading techniques to find the perfect combination for your style. Remember to have fun and enjoy the process!
Draw a portrait of anime character
If you’re a fan of anime and have ever wondered how to draw your favorite characters, you’re in luck. Drawing anime can be a fun and rewarding experience, but it can also be challenging if you don’t know where to start. Luckily, with some practice and guidance, anyone can learn how to draw anime. In this guide, we’ll go over some tips and techniques to help you get started on your anime drawing journey. Whether you’re a beginner or an experienced artist, there’s something for everyone. So grab a pencil and paper, and let’s get started on our anime drawing adventure!
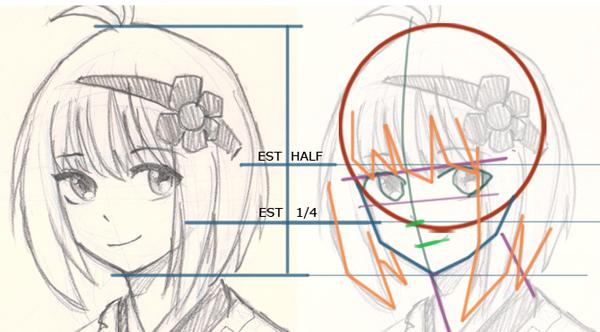
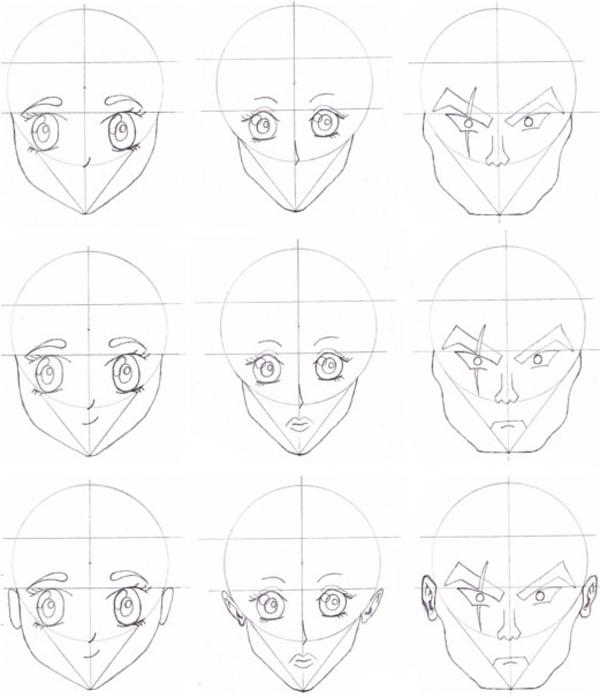
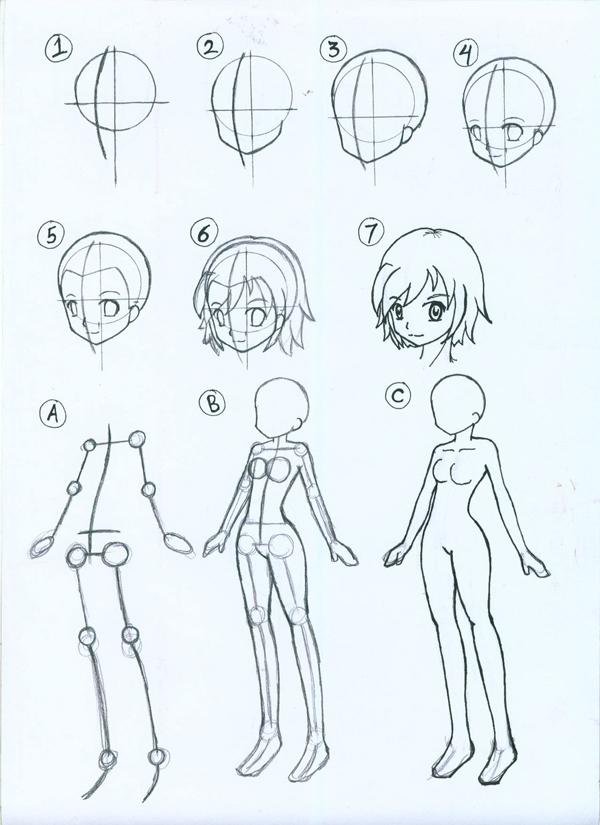
You will need a pencil, eraser and a ruler to start. The drawing should be finished in ink and color. Make sure your pencil pressure is light as you sketch, you will thicken the contours later.
Step 1
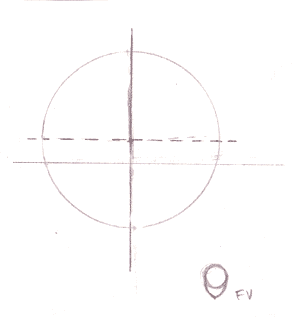
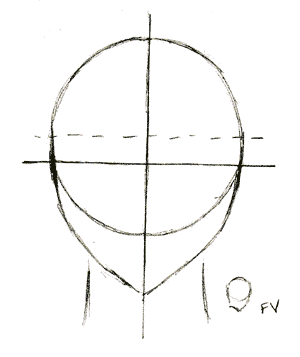
First outline a circle. Then add a vertical and a horizontal line dividing the head into equal fragments using a ruler. Do not press the pencil too hard, because you will erase these lines later. Make horizontal dashes above the first horizontal line, determining the width of the eyes.
If you want a thinner face, make the initial circle more oval.
Step 2
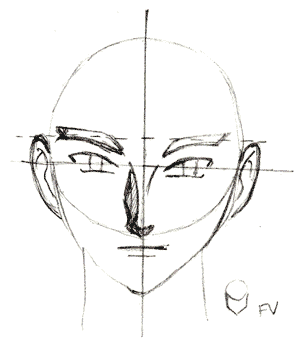
Extend the bottom of the circle to make a jawline. Keep the jawline angular if you want a male character and a little more pointy and soft if you want a female character. The jaw point should be at the center of the face – where vertical axis is. In essence, it should resemble a big letter “V”.
Add a neck extending from the jawline. For girls, keep the neck thin, and for boys you can make it a bit thicker.
Step 3
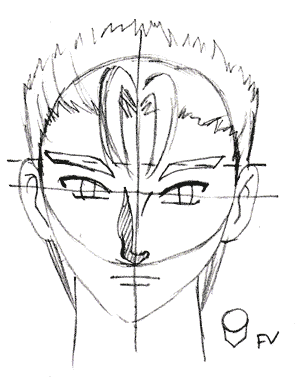
Draw the eyes at the horizontal line. Make sure the eyebrows go up to the dashed horizontal line. Eyelid corners should touch the solid horizontal line in the sketch circle. Big eyes extend below this line in a semi-circular, widened almond shape.
The nose is signed with a small vertical line in the middle, or with two little dots around the axis. Mouth line should be drawn below it.
Ears can go high touching the dashed line and extent low to the end of the nose.
To perfect the eyes, use subtle shading. This may require some practice. Make sure the dark parts are darkened and the light parts and sparkling sections of eyes are left white.
The eyebrows should follow the eyelid line. Thicken the eyelid, and make it exceptionally thick if you are drawing a female character. Make sure both eyes are about the same size.
The basic face is now finished. You can perfect it by shading around eyes, nose and mouth, but this will come slowly with practice.
Step 4
Now that you have the face, go on to the hair. Try adding long free fringes or spiky hair. This is where you can play the most, as hair does not follow the line of the head, but goes above and around it in different ways. Shading will make the hair look more natural and give it “movement”.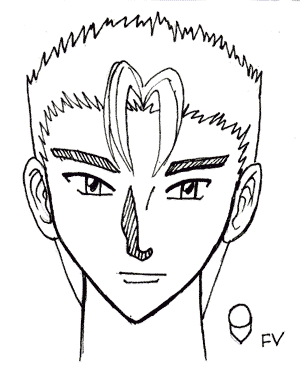
Step 5
Your anime portrait is now ready for finish. Erase the helpful vertical and horizontal lines and make the contours permanent with ink. You can now color your drawing as you wish!
Step 6
If you want to continue and draw the whole body, make sure it is proportionate to the head. One body ought to have 6-7 head lengths.
Make sure your males are angular with more straight lines, while females are thinner, with defined waist and more curves.
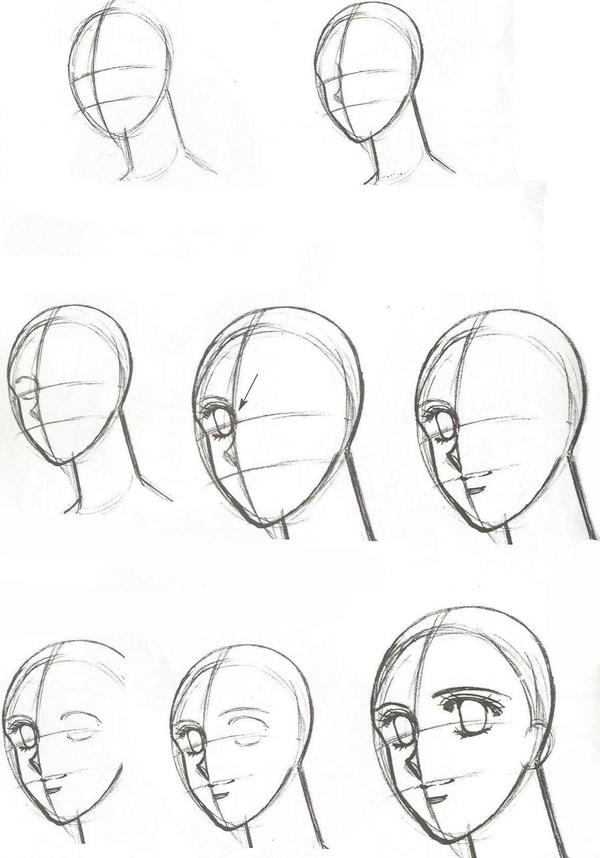
When you are done practicing feeling confident enough to draw new characters and poses, try drawing a profile or a semi-profile portrait of a character.
Pay attention to the characters you know and love. Note how they are all drawn according to the same basic principles. When you master the basics, you will be able to let your imagination conjure up any type of anime drawings you have ever wanted to create.



Very nice tutorial, thanks a lot! I used some useful tips and your tutorial, and I managed to draw my first anime character, thanks a lot :))
This really helped me. Thank you.